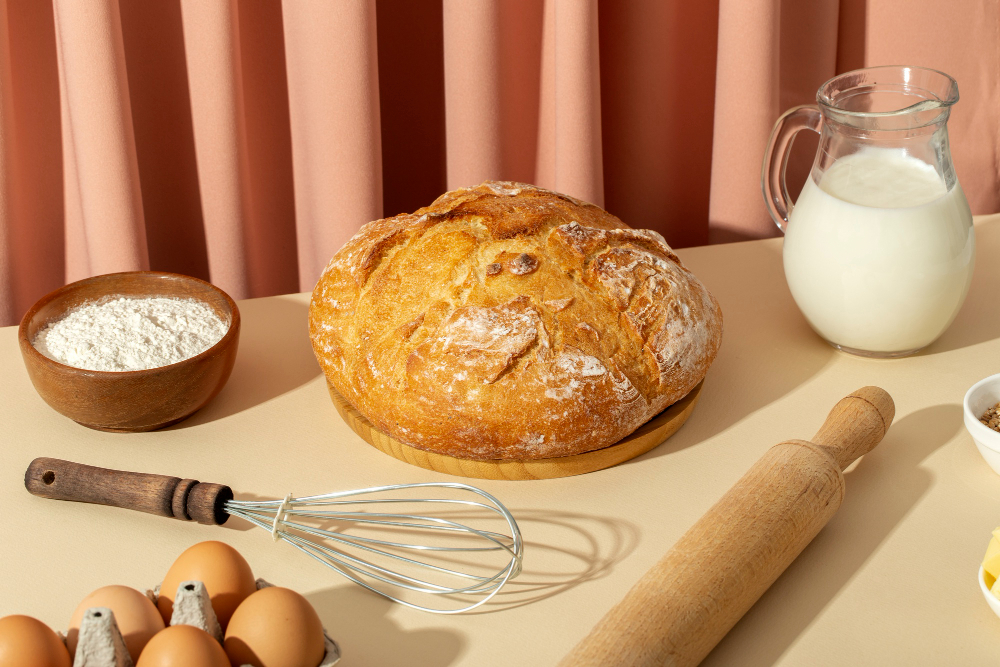
Owning a bread maker is a delightful experience, offering the joy of freshly baked loaves right at home. However, if your bread isn’t turning out as perfect as you’d like, you might be inadvertently making some common mistakes. In this article, we’ll uncover the 5 mistakes you could be making with your bread maker and provide practical solutions for achieving bakery-worthy results.
5 Mistakes to Skip When Making Bread
Neglecting Proper Ingredient Measurements
Inaccurately measuring your components is one of the most fundamental blunders that may be made. For the bread you’re making, accurate measurements are absolutely necessary in order to have the appropriate consistency and feel. Invest in a kitchen scale to ensure that you are precisely measuring your flour, water, yeast, and any other components.
Using Cold Ingredients
Bread dough requires a warm environment to rise properly. Using cold ingredients, especially cold water or milk, can hinder the yeast’s activity and result in less-than-desirable loaves. Ensure all your ingredients are at room temperature for optimal yeast activation.
Overloading the Bread Maker
While it might be tempting to pack in extra ingredients, overloading your bread maker can lead to uneven baking and dough that doesn’t rise properly. Follow your machine’s recommended capacity guidelines to ensure even and consistent results.
Ignoring the Kneading Cycle
Kneading is a critical step in bread-making that develops gluten and gives your loaf structure. Neglecting the kneading cycle or interrupting it prematurely can lead to dense and uneven bread. Allow the machine to complete the full kneading process.
Skipping the Resting Period
After kneading, the dough requires time to rest and rise properly. Skipping this resting period can lead to underdeveloped flavors and a lackluster texture. Be patient and allow the dough to rise according to your bread maker’s instructions.
Read More: Mastering the Art of Pizza Dough Preparation
Expert Solutions for Perfect Bread
To achieve bakery-quality loaves, consider these expert solutions:
- Follow Recipes: Stick to reliable bread recipes designed for your bread maker model to ensure success.
- Check Yeast Freshness: Test the freshness of your yeast before use to avoid inactive yeast and flat loaves.
- Experiment with Flours: Experiment with different flours like whole wheat or rye to create unique and flavorful loaves.
- Use Timer Settings: Utilize timer settings to wake up to freshly baked bread or come home to a warm loaf.
FAQs
Can I open the lid of the bread maker during the baking process?
It’s best to avoid opening the lid while baking, as it can disrupt the baking cycle and affect the final outcome.
How can I prevent the crust from becoming too dark?
To achieve a lighter crust, consider selecting a lighter crust setting on your bread maker.
Can I make gluten-free bread in a bread maker?
Yes, many bread makers offer gluten-free settings that are designed to accommodate gluten-free flours and recipes.
How can I ensure consistent results with my bread maker?
Consistent results come with practice. Follow recipes accurately, note adjustments, and learn from each baking experience.
Why is my bread collapsing in the middle?
Bread collapsing can occur due to overproofing or too much liquid. Review your recipe and follow proper ingredient measurements.
Conclusion
Your bread maker can be a reliable kitchen companion, but avoiding these 5 common mistakes is essential for achieving exceptional loaves. By paying attention to ingredient measurements, temperatures, and following the machine’s instructions diligently, you’ll be well on your way to enjoying homemade bread that rivals your favorite bakery’s offerings.


