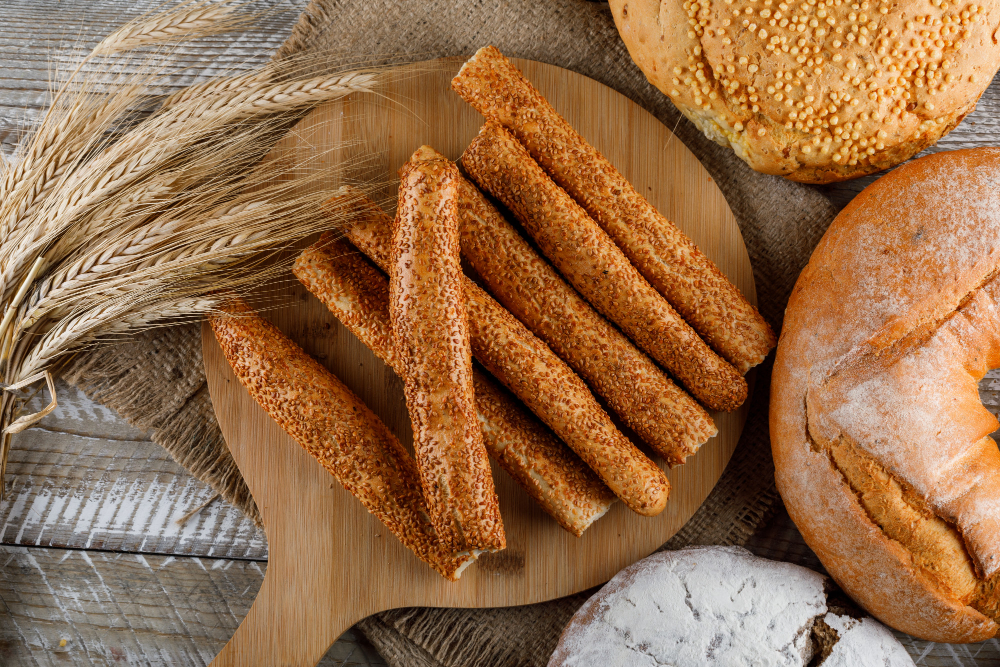
If you’re a fan of baking and sourdough, then you’re in for a treat with this homemade sourdough breadsticks recipe. These golden breadsticks are great with soups and salads, but they also make a tasty snack all on their own.
Sourdough breadsticks offer a delightful twist to the classic breadstick recipe. The natural fermentation process of sourdough starter adds depth of flavor, making these breadsticks a treat for your taste buds.
In this guide, we’ll walk you through the process of creating these flavorful and aromatic breadsticks, right from preparing the sourdough starter to baking them to perfection.
Crafting the Perfect Sourdough Starter
Before you embark on making the breadsticks, you’ll need a vibrant and active sourdough starter. Follow these steps to create or refresh your sourdough starter:
- Combine equal parts of flour and water in a glass jar.
- Let the mixture sit at room temperature, loosely covered, for 24 hours.
- Discard half of the mixture and feed it with more flour and water.
- Repeat the feeding process daily until your starter becomes bubbly and doubles in size within a few hours.
Ingredients and Tools You’ll Need
For the breadsticks, gather the following ingredients and tools:
- Sourdough starter: Ensure it’s active and bubbly.
- All-purpose flour: For the breadstick dough.
- Salt: Enhances the flavor of the breadsticks.
- Olive oil: Adds richness and helps with the texture.
- Water: To create the dough.
- Baking sheet: For shaping and baking the breadsticks.
- Parchment paper: Prevents sticking.
- Plastic wrap: To cover the dough during proofing.
- Pastry brush: For applying olive oil.
Step-by-Step: Making the Breadstick Dough
- Mix the ingredients: Mix the sourdough starter, flour, salt, olive oil, and water together in a bowl before proceeding. Work the dough with your hands until it is silky and elastic.
- First proof: Put the dough in a basin that has been greased, cover it with plastic wrap, and let it rest until it has doubled in size, which should take anywhere from four to six hours.
- Shaping: Deflate the dough with gentle pressure, then split it into several more manageable pieces. Each part should be rolled into a long, thin rope.
- Second proof: Arrange the ropes on a parchment-lined baking sheet, leaving space between each. Cover with a damp cloth and let them rise for about 2 hours.
Read More: Vegan Pizza Options with Creative Toppings
Shaping and Baking the Breadsticks
- Preheat the oven: Prepare a temperature in your oven of 375 degrees Fahrenheit (190 degrees Celsius).
- Olive oil glaze: Brush the risen dough ropes with olive oil for a golden finish.
- Bake: Put the baking sheet into an oven that has been warmed and bake it for fifteen to twenty minutes, or until the breadsticks are a golden brown color and crispy.
Tips for Flavor Variations
While the classic sourdough breadsticks are already delicious, you can experiment with flavor variations:
- Herb and Garlic: The dough should be brushed with olive oil that has been flavored with minced garlic and a mixture of dried herbs such as rosemary, thyme, and oregano.
- Cheesy Delight: Sprinkle vegan parmesan or nutritional yeast over the breadsticks before baking for a cheesy flavor.
- Seeds and Nuts: Roll the dough ropes in a mixture of seeds and chopped nuts before shaping and baking.
FAQs
Q: Can I use whole wheat flour for the dough?
A: If you want a heartier texture, you can use a combination of all-purpose flour and whole wheat flour in your baking.
Q: How can I know if my sourdough starter is ready?
A: A mature beginning will be bubbling, will have increased in size by twice as much, and will smell sour.
Q: Can I refrigerate the dough overnight?
A: After the initial proof, chilling the dough in the refrigerator may absolutely improve the flavor while also making it easier to work with.
Q: Can I freeze the unbaked breadsticks?
A: Breadsticks that have been shaped but have not yet been baked can be frozen, yes. You can bake them straight from the freezer, but the baking time will need to be extended by a few minutes.
Q: How do I store leftover breadsticks?
A: They can be kept at room temperature and in an airtight container for up to two to three days. Simply rewarming them for a few minutes in the oven will bring back their crispiness.
Q: Can I use sourdough discard for this recipe?
A: Yes, sourdough scraps can be utilized, but the flavor and texture of the finished product may be slightly altered as a result.
Conclusion
Creating homemade sourdough breadsticks is a rewarding experience that combines the art of sourdough baking with the joy of indulging in a crispy, flavorful snack.
You can make breadsticks that will impress your taste buds and add a touch of class to any meal with only a few simple ingredients and a little bit of patience on your part.
Try out a variety of delicious toppings, and then bask in the glow of a satisfied smile as you present your creations to your loved ones and close companions.


